Someone asked me recently if I had tried cutting stamp material with my ScanNCut and I haven’t. I do own some Pazzles green and blue stamp material but to be honest Ive only cut the green sheet once and it was to use as a rhinestone template, so not for rubber stamping at all.
I looked at the cutting guide which Gentleman crafter and Mel Heaton have put together and it had a recommendation for leather with deep cut blade set at 5 and pressure at 5 so I thought I would use that as my starting point.
Pazzles stamp media is available in both green and blue and from memory you use both the green is thiner and the blue slightly thicker.
I cut the green with the deep cut blade 5, pressure 5, speed 5 and only one cut.
I cut the blue with deep cut blade 7, pressure 5, speed 5 and again only one cut.
I wanted to cut a foam cushion layer that was about 3mm wider but the seem allowance option was greyed out.
So I layered the green on top of the blue and then scanned it through the machine so that I could cut a 3mm outset layer for the cushioning. The foam I cut with the regular blade 12, pressure 7 , speed 5 and one cut.
I realised after that if I had unified the shape on the ScanNCut I would have been able to add the outset seem allowance without having to scan the shape back through the machine. The reason it was in separate parts is because the outside of the circle doesn’t touch anything. Well thats what I think anyway.
To cut the Stamp media with a Pazzles Inspiration the suggested settings were blade 3 , pressure 35 and 3 cuts. So the ScanNCut was far easier.
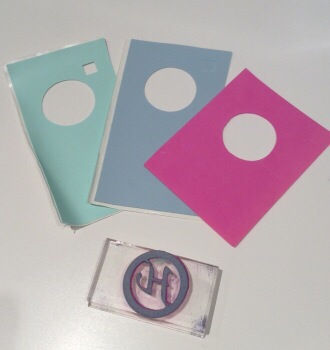
I designed this little monogram stamp in Canvas the complete size is 1.63 x 1.63.
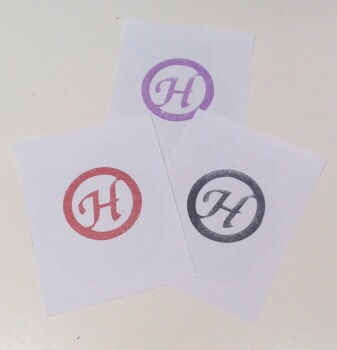
I used the Calgary Medium Italic font for the letter which I made in reverse and I think it’s turned out great and my daughter loves it as it’s for her.
Here’s a picture of the stamp material and foam as I cut it.

Here’s our first stampings and we think it’s turned out great.

